Photography helps you to learn to be creative and view the world in a different way. Not only do you get to explore and test out what works best, but you get to define your own personal style. Just like a painting or a drawing, photography is a type of art and you get to choose what look and feel defines you.
This guide will help you get started with the photography basics of learning how to compose, take, edit, and share your pictures.
How to Take a Fantastic Photo
Let’s deep dive into what you need to take a great picture.
The word “photography” is derived from the Greek words meaning light and painting. So to take a picture, you are actually painting with light. That is why light is the most important thing in taking a picture.
Lighting
If you’ve ever tried to take a picture at night or of your friends in your basement, you know that those pictures never turn out great. This is because there usually isn’t enough light coming into the camera in order to produce the results you want. In contrast, if you take a picture by a window or outside, you usually can get great images!

The easiest way to improve your photos is to go outside. Indoor light can be harsh and yellow. You want to avoid direct sunlight in your or your subject’s face. It makes them have squinty eyes or weird shadows. Instead, turn around and have the light at their backs, or better yet…find a large, open shady spot. Stand in the shade and face the sun. Watch for any weird shadows on your face or your subject’s face. You want to make sure that you have even lighting on your subject. It doesn’t matter what you are taking pictures of, if the light is speckled or there are a lot of shadows, it doesn’t look great. An easy trick to remember…look for your shadow. If you see it, find another spot.
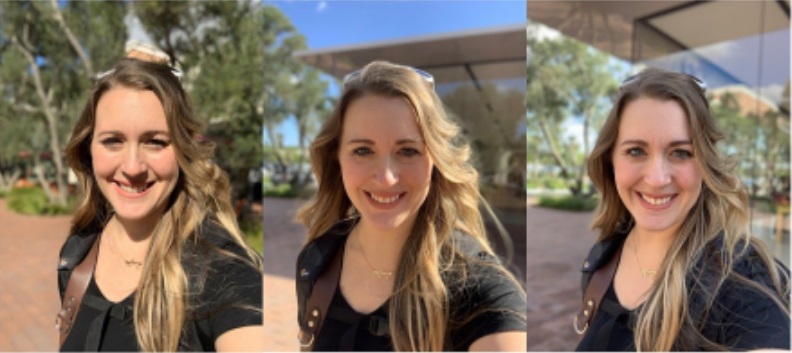
If you have to take pictures inside, look around at where the light is. Most lighting in houses are overhead lights (think: lightbulb) and have a yellow look to them. This never looks good in photos. It makes your photos look old and unnatural. Try to turn off the lights in your house and
get really close to a large window. This is going to give you the best light. Window light is usually bright and soft. Soft light means that there aren’t any harsh shadows and you have nice, even lighting.
Background
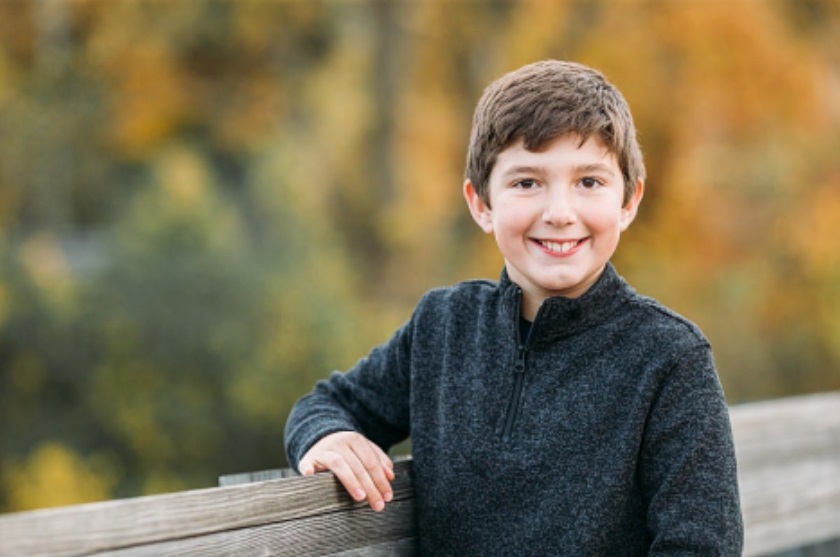
When taking pictures, make sure that you have one subject that the viewer can focus on. This tells our brain what to look at and then we enjoy the picture more. If you have too many elements in your picture, it can be distracting.
Start with your background. If your background is cluttered or distracting it will be hard for your viewer to focus on your subject. You don’t want to be playing “Where’s Waldo?” with your pictures. Keep your background simple. This is easier than it may seem. Take a few minutes to look around at where you are taking your pictures. Make sure that the light is good and then make sure that your background isn’t distracting.
Many cameras will allow you to adjust the aperture of your lens. This is what makes the background of your image look blurry or fuzzy. This is a great way to make your background less distracting and your subject stand out. How blurry the background is is called bokeh.
Most lenses allow you to either increase or decrease your aperture size. You can even do this digitally on your phone. Make sure that you set your aperture size to the smallest number. Without getting too technical, the smaller the aperture number, the wider open your lens, and the blurrier your background is. Play around with this. It can really help your picture look professional. But don’t go too far or your subject may get out of focus, which is something you don’t really want to do.
Composition
What you decide to include in your photo and how you frame it is called composition. Pay attention to your composition by following a simple rule called the Rule of Thirds. This rule says that it is more pleasing to the eye if your main subject (or key elements of your images) falls on one third of the frame.
Have you ever seen a picture of a person and they are not right in the middle? You may have thought that all people should be right in the middle of the photo, but that isn’t always true. Play around with putting your face or subject off to the side and see what you can create.
Most cameras and phones have a special feature where you can turn on a grid in your viewfinder. This helps with composition and will make it easier for you to know how to apply the rule of thirds. A simple google search will help you know how to set up a grid on your camera.
Another simple trick you can use your grid for is to make sure that your image is straight. If you are taking a picture outside, watch for the horizon line. This is the line where the sky meets the ground. Try to keep it as straight as possible. You don’t want it to be tilted, otherwise your view may feel like the picture is crooked!
Don’t forget to use the crop tool to make adjustments to your picture afterwards. This little tool can help you straighten your images or get rid of distracting elements in your picture. You can also use it to help get your subject within the rule of thirds.
Be Creative
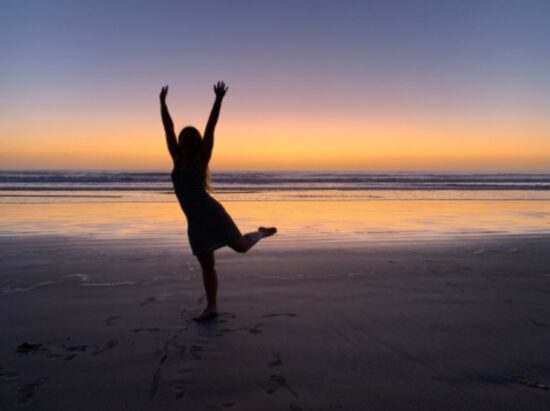
The best part of photography is that you get to make it however you want. It’s time to get creative! Once you’ve mastered the tips and tricks above you can throw them out the window! Explore what it would look like to take photos in the dark, through a plastic water bottle, from a strange angle, or even a panorama.
How can you make your subject look larger than life or extra small? What if you only took pictures of people doing handstands or dogs that wore shoes? There is no limit to what you can photograph, and this is how some of the most famous photographs have been created. Use your imagination and try something new every day. You’ll be surprised what you discover.
Next Steps
Now that you have practiced and experimented with taking pictures it’s time to put them to use. Don’t be the person who just takes a picture and leaves it on your camera or SD card. You now need a place to download, edit, upload, print, and share!
The easiest place to do this is if you have a desktop or laptop computer. There are a ton of online programs that you can use to edit. Start with something simple like PicMonkey or Google Photos. If you get more serious, check out products from Adobe, like Lightroom or Photoshop. You can get these for an inexpensive monthly fee and they are super powerful.
If you are taking pictures on your smartphone, there are a million downloadable apps to use for editing. My favorites include Lightroom, Afterlight, and VSCO. Your camera app even has basic tools to edit your photos with.
The best thing to do when editing your photos is to experiment. You’ll quickly learn what you like and what you don’t like. Highly edited photos or filters make your photos look overdone or dated. Remember, less is more. Here’s a quick cheat sheet of what some of the adjustments mean.
Exposure: How light or dark your overall image is. Always start with this to make sure that your photo has the right amount of light in the image.
Contrast: A little contrast goes a long way. It gives your picture depth and helps your subject to stand out from the background.
Saturation: Use this tool to make the colors in your photos more deep or intense, or take it back to have a more muted look to your pictures.
Temperature: This determines how yellow or blue your image is. Blue light usually comes from natural light and yellow light usually comes from artificial light. Play with this adjustment to help your indoor pictures look more natural, or your outdoor pictures look more warm and less like they were taken from the movie Frozen.
Shadows/Highlights: Shadows are the dark parts of your pictures and highlights are the brightest parts of your photo. Mess around with these to bring more of your picture into the correct exposure. Sometimes you might want a darker looking photo, and sometimes you might want to lighten up a part of your picture that was dark. These little tools are helpful because they don’t affect the whole photo, just the specific parts that are either light or dark.
Even a little bit of editing is going to drastically improve your photos. So go ahead and find out what works best for you. Your eyes will be a much better judge of what looks best, so don’t just always use a filter. Experiment to find out what you love.
Camera Types for Tweens and Teens
To start out, you will need something to take pictures with. There are so many options for cameras these days. You will find traditional cameras, like click-and-shoots or digital SLRs (DSLRs), or non-traditional cameras, like those on your phones, tablets, computers, Go-Pros, or watches. So which is right for you? Let’s look at a few options.
Click and Shoot
A click and shoot camera is a simple, lightweight camera that you can easily take with you anywhere. They don’t require any fancy accessories or multiple lenses as most already have built in flashes and zoom lenses. These are great for beginners. They are inexpensive and easy to use. Most are chargeable and have different “modes” for you to shoot in like portrait, landscape, and action. This way you can quickly turn a dial or digitally select which situation you are planning to shoot in and the camera does all of the “thinking” for you. A simple SD card is all you need to get started.
Great choice: Canon Powershot
Mirrorless/DSLR
Mirrorless cameras are an excellent choice if you want to get beautiful, crisp images but don’t want to learn all of the technique behind getting the right exposure for an image. Mirrorless cameras have a digital viewfinder which allow you to see exactly what the image will look like before you take it. You adjust your own settings to make sure that you have the best lighting. Mirrorless are lighter and cheaper than a lot of DSLRs, but they don’t have as many options for lenses and accessories.
DSLR (digital single-lens reflex) are bigger and bulkier, but are super powerful. Professional photographers will use either a DSLR or mirrorless in order to create amazing pictures. There are usually lots of modes, dials, buttons and options on these cameras, so if you are willing to learn, DSLRs are a great intermediate/advanced choice. While you have the option to use different modes, like with the click and shoot, you have to get more technical than just pushing a button to get the image to look right. It may be harder, but it also allows you to have more control in different situations.
Great choice: Nikon D3500
Phone/Tablet
This is probably what most teens will be using for their camera as they have easy access to them and already know the basics of using their camera on their phone or tablet. We will be talking exclusively about phones, but this could apply almost identically to tablets. Technology for phone cameras have increased significantly over the past few years and if you know how to use your phone properly, you almost can’t tell the difference between a smartphone picture and a high end DSLR! Make sure to find a phone camera that has as high resolution as you can afford. But don’t feel like you have to have the newest model in order to get amazing pictures. Work with what you’ve got, because technique is more important than equipment.
Great choice: iPhone 14 or Galaxy S23
Share and Enjoy
The best part of photography is getting to share your work with others. So don’t forget to showcase your work. Upload your images to share on social media or with family and friends. And don’t discount printing your photos out. This is the best way to enjoy the hard work you’ve done to create something amazing!
Taking pictures can be an awesome way to be creative, learn, and make memories. So get out there and start practicing. It’s a skill that you develop, so you’ll only get better over time!
