Are you ready to join the hottest trend in photography going on right now? Or maybe have some cute photos to post in your room? If so, it’s time to pull out your vintage instant camera! No doubt about it, they are making a comeback. Let’s get to work learning how to take the best pictures possible that are sure to wow your BFFs.
One of the most important things you should know when it comes to using an instant camera is that you’ve only got one shot. Yes, that’s right. You only get one chance to get it right. Unlike the digital photography you’ve probably used on a phone or modern camera, you have one shot.
This means that you have to take your time to get it right the first time. In other words, slow down. Instant photography is special because it makes you consider what it is you want in every shot. You start to really focus and become intentional about what kinds of images you want to capture.
Tips for Awesome Instant Camera Photos
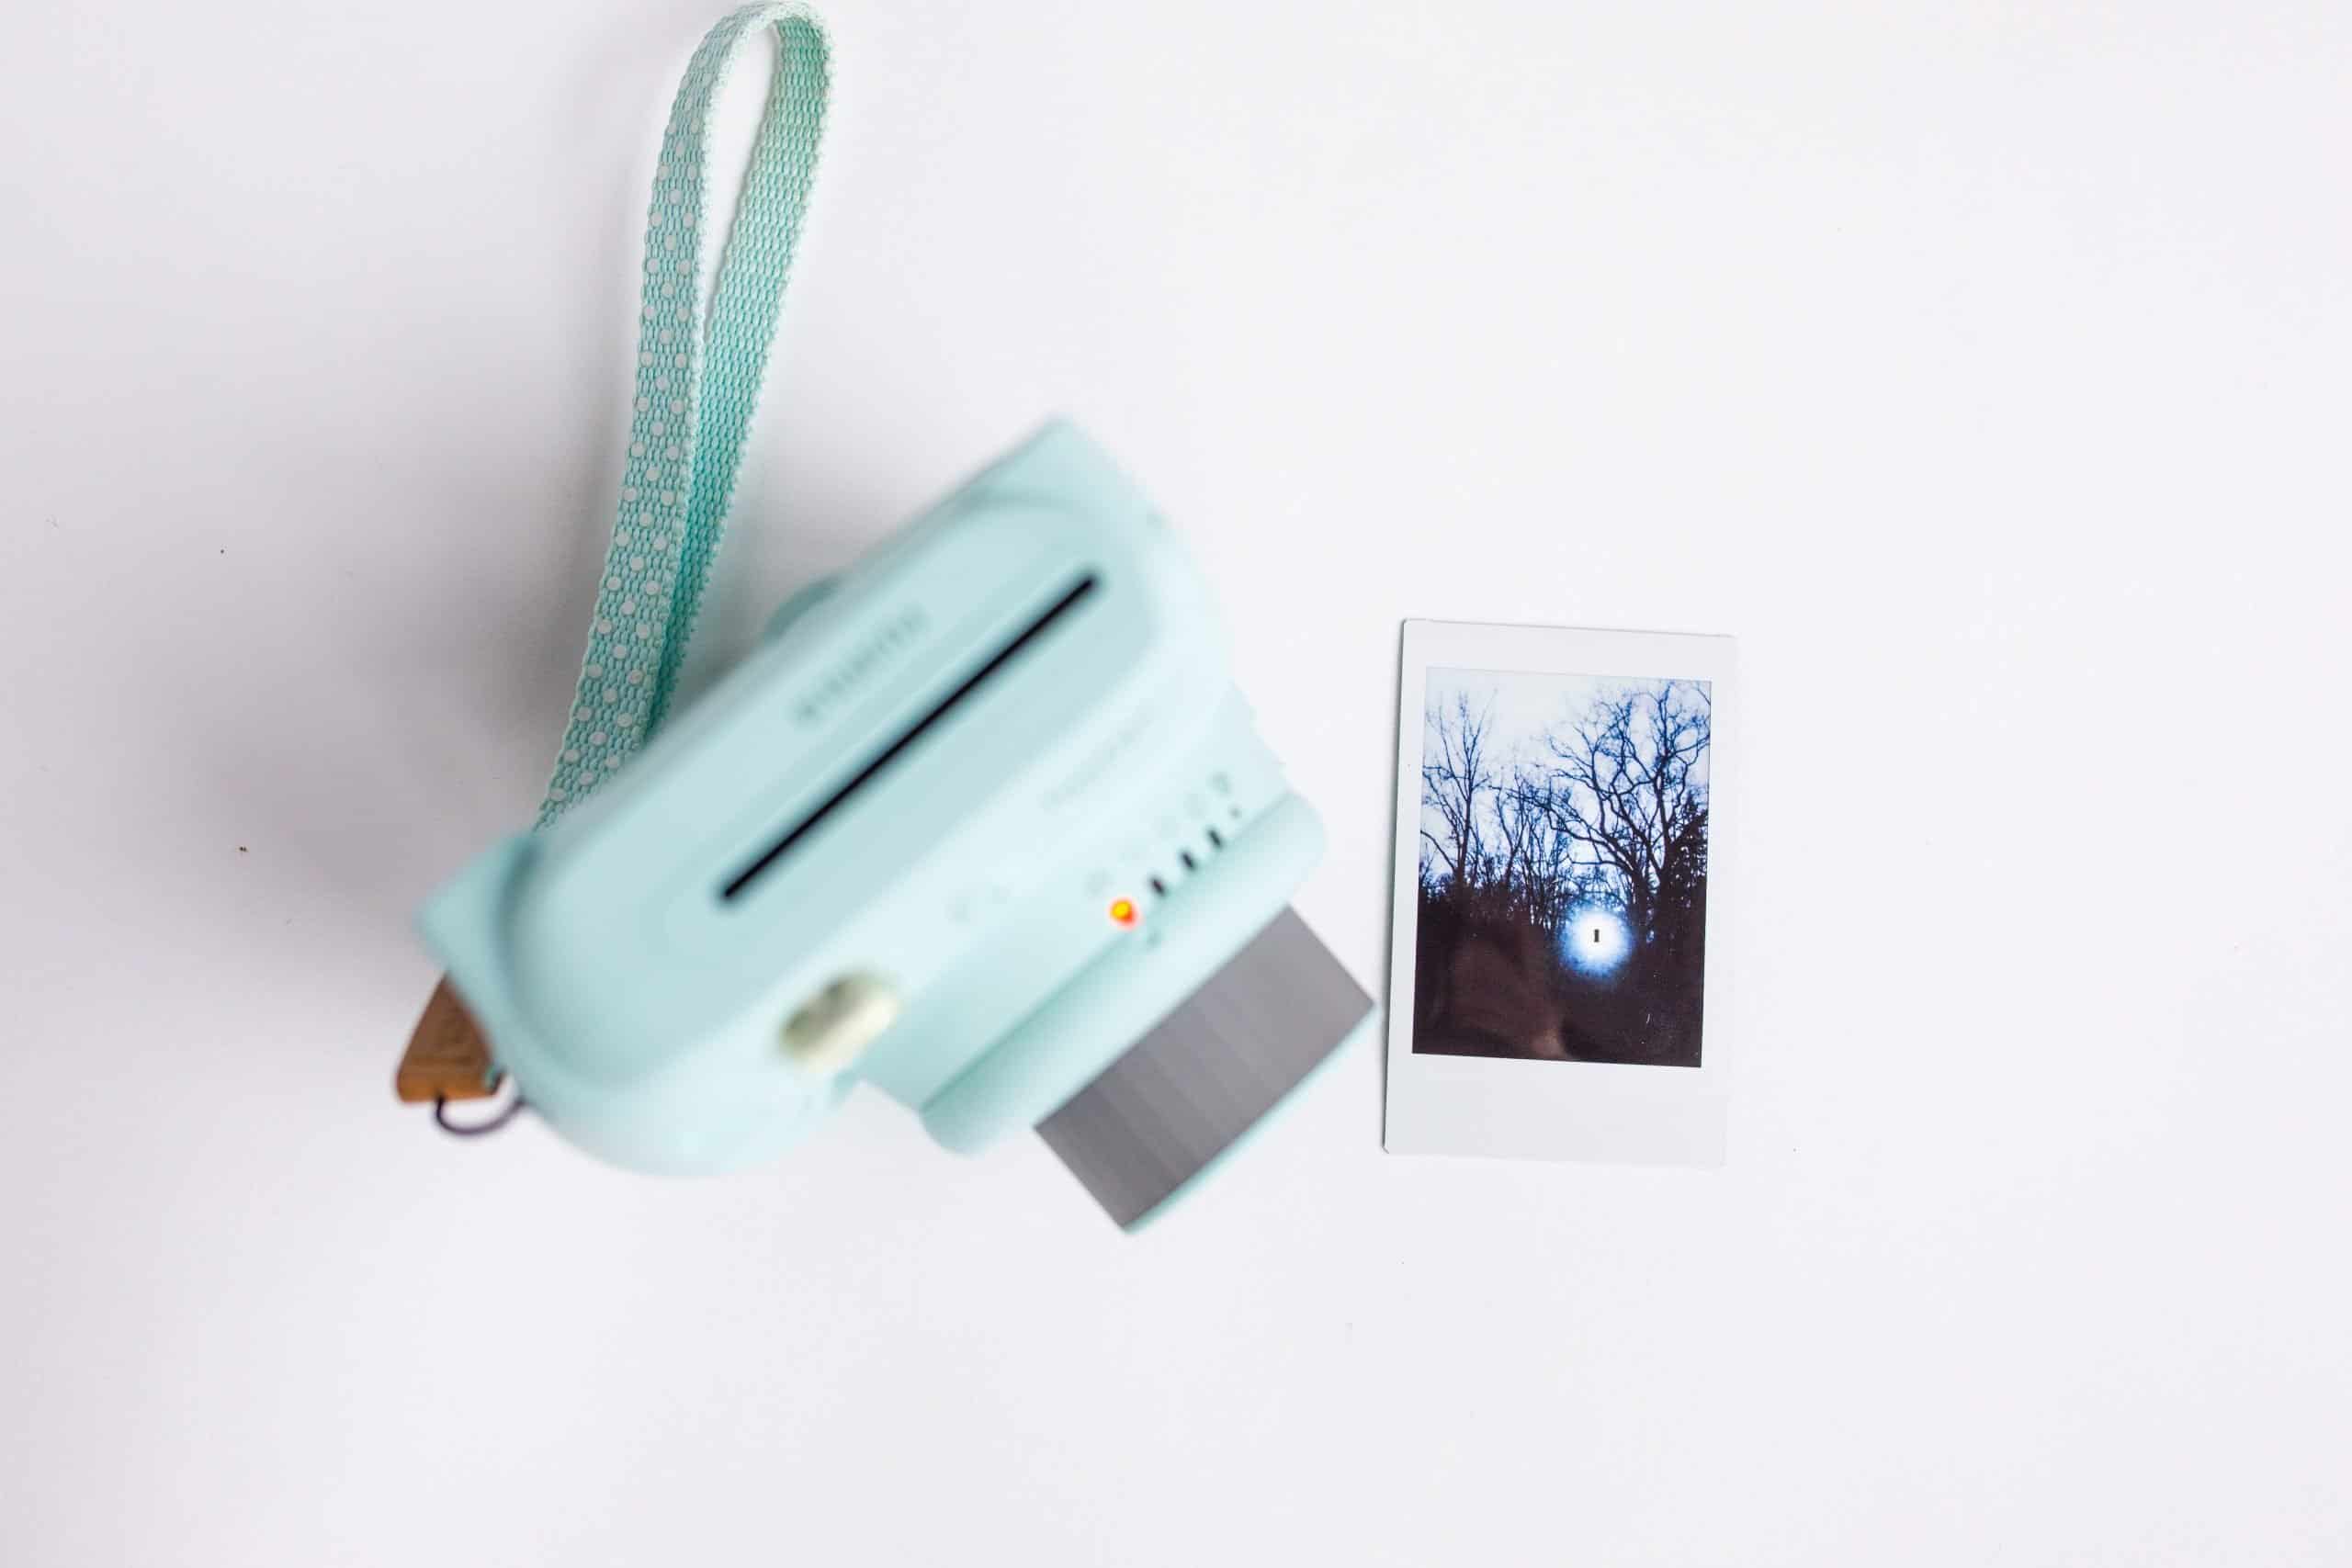
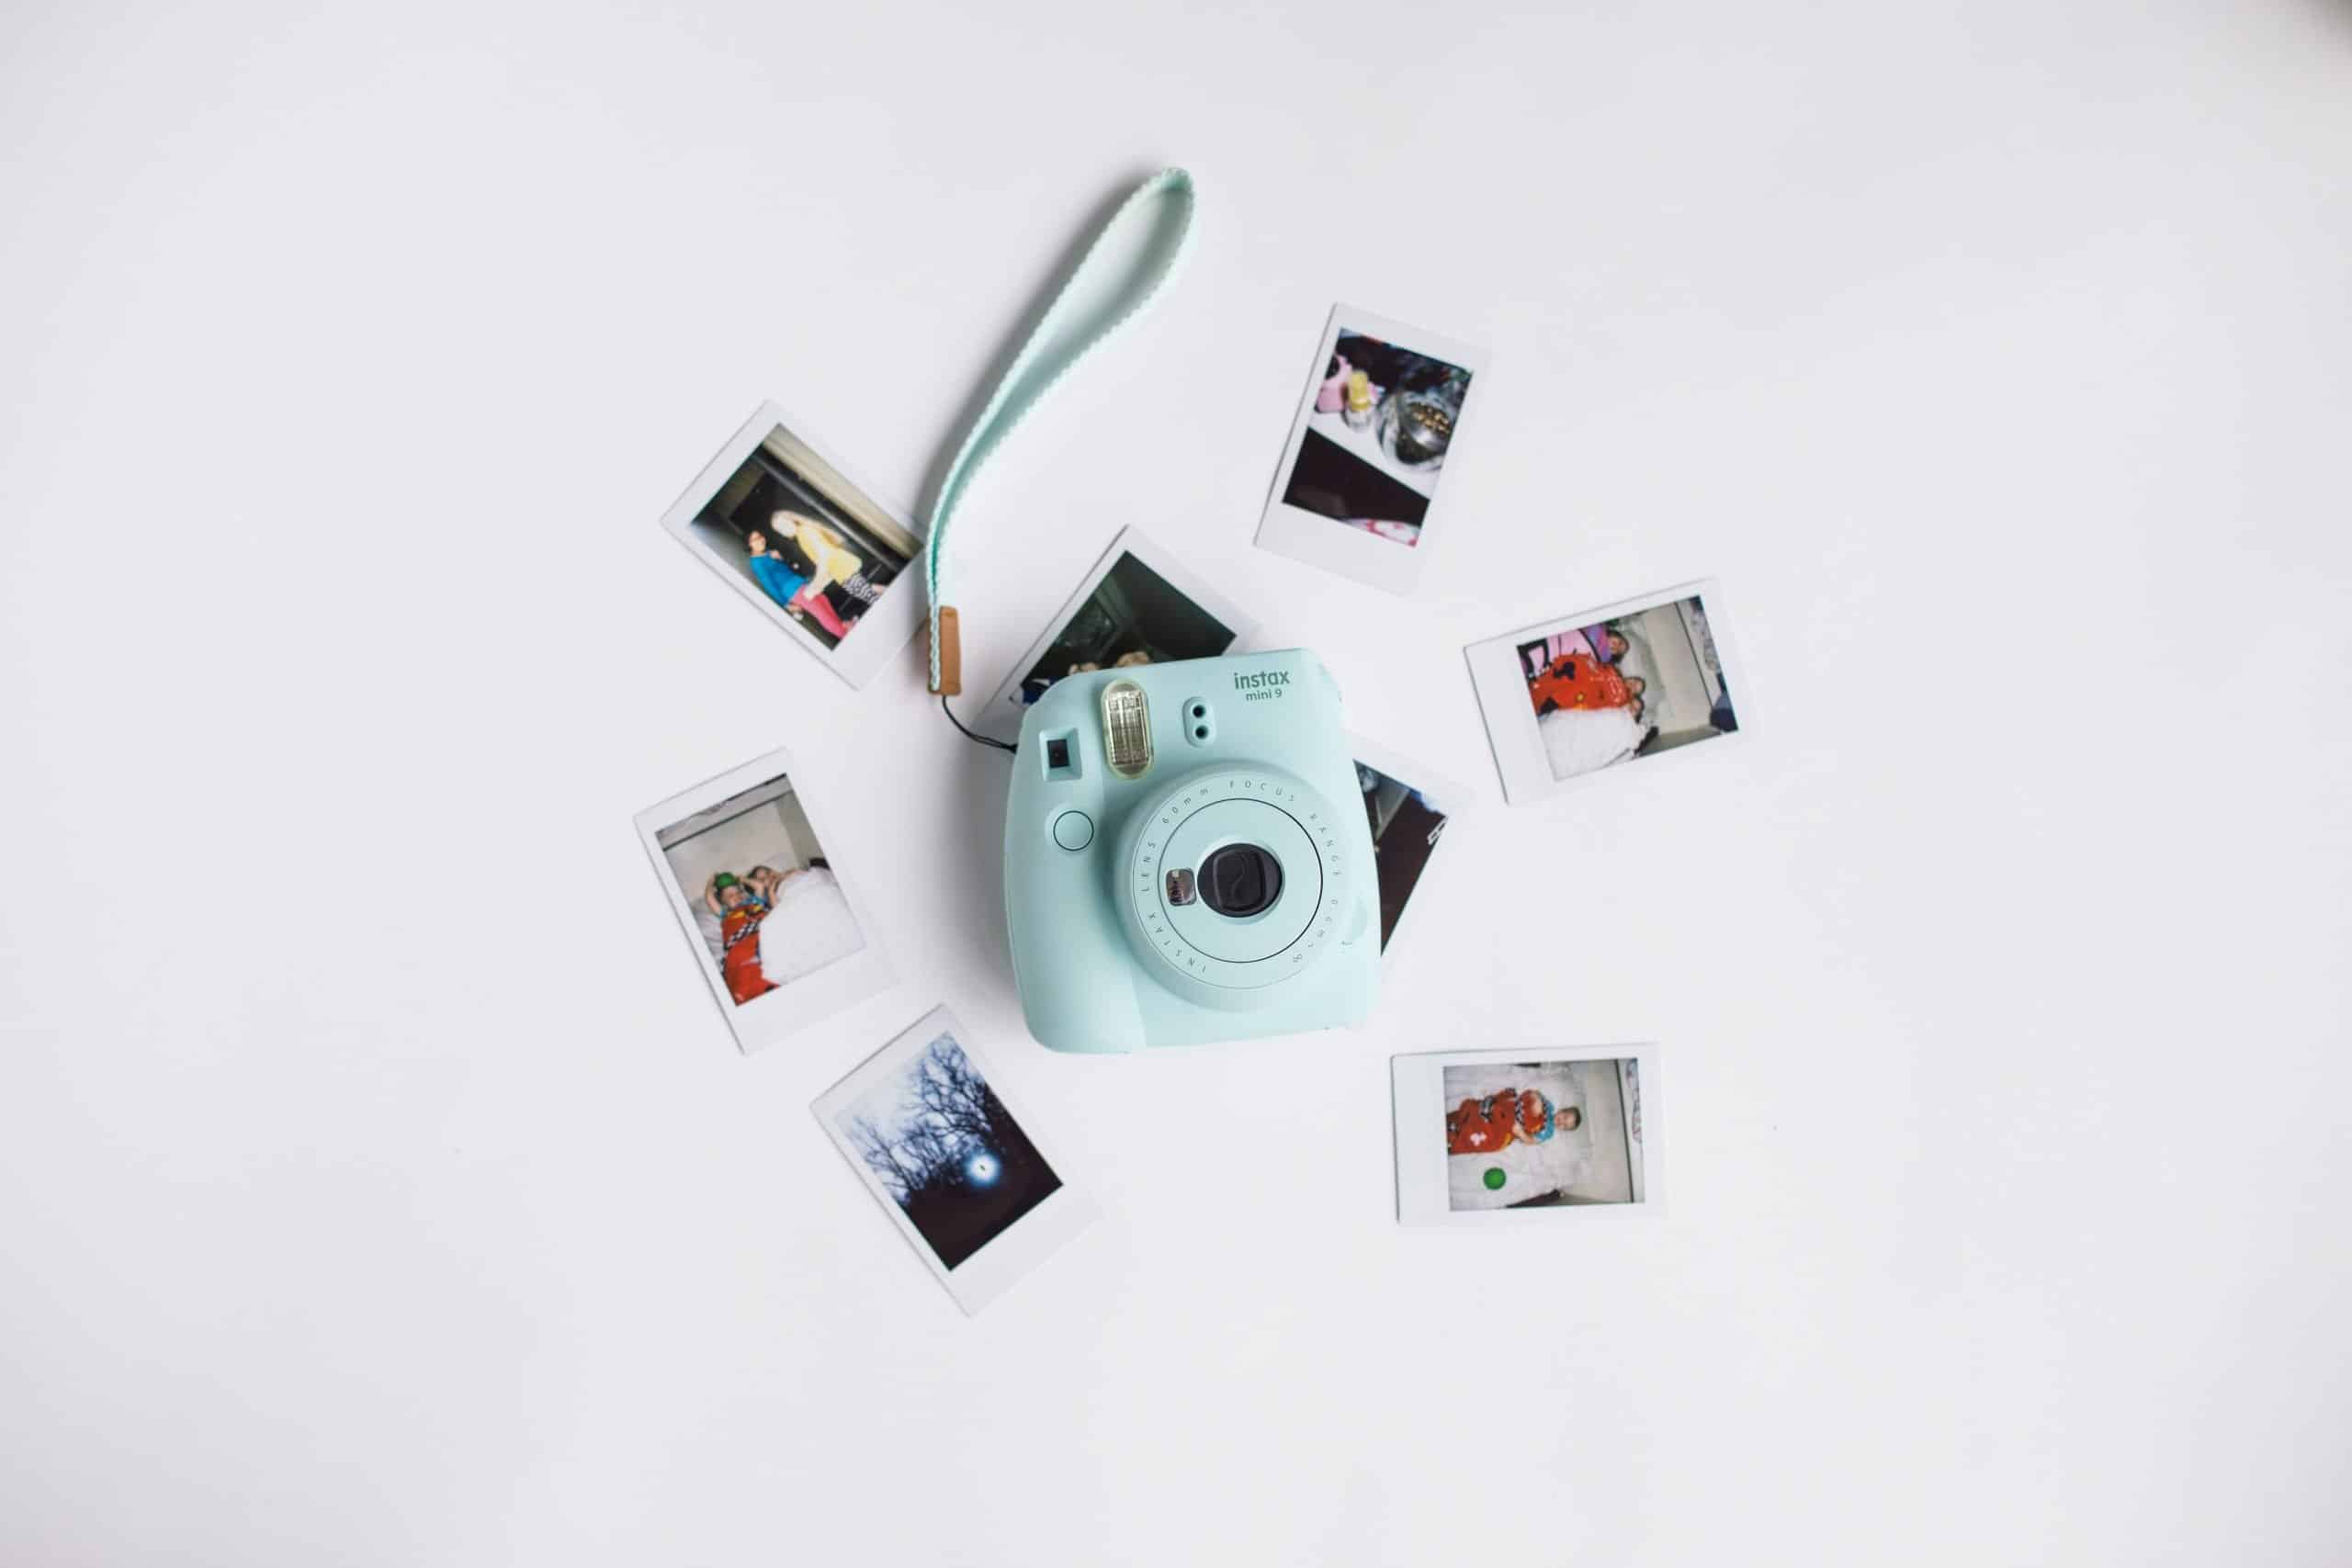
An instant camera is super fun because after snapping a picture it prints out immediately. There is something magical about watching the images develop, a process that usually takes a few minutes. Having the picture right away means you can do a lot of fun things with the photos themselves.
But you absolutely want to make sure your photos are fantastic. While using an instant camera can be simple, there are some things you can do to get a better quality photo. Here are some tips for getting just the photo you want.
Have as much light as possible
First and foremost, understand that photography is all about light. Before snapping your shot, make sure that you have as much light as possible. After some experimenting you’ll see that the light from a flash isn’t very flattering. If you are taking photos of your friends, try to take pictures of them outdoors for ideal results. Natural lighting is almost always the best way to go!
Prepare your group before you take a polaroid
It goes without saying that there are no retakes with an instant camera, which is why it is critical to make sure everyone is ready to go before you take the picture. Always remember that an instant camera isn’t like a phone or digital camera where you can take 100 photos and just print out the best of the bunch.
The last thing you want is to capture someone fixing their hair at the last minute and mess up the whole photo. Count down so your subjects know a picture is coming. Coordinating ahead of time will ensure you get the picture right the first time.
Check your distance setting
Here is a quick introduction to a concept you’d learn about in a photography course. The minimum focusing distance is the shortest amount of space that the camera needs in order for the image to be in focus. It is crucial to do some research to figure this out on your own camera.
Once you discover the distance setting, don’t get closer to your subject than this. Always be sure to be back a little ways from that minimum focusing distance in order to be safe. In general, most polaroid cameras perform best in about 2-8 foot range. Find the sweet spot because if you are too close, it will be blurry but if you are too far away, it will also be blurry. You’ve got this!
Use different lenses to mix up the style
In case you didn’t know, you can find an abundance of awesome lenses to use with your instant camera! Each one is unique and will produce a distinct look. Obviously, a close up lens allows you to zoom in. Other lenses can change the color or look like a filter for your images.
I think you’ll find it is really fun to experiment with different lenses for a more creative look. Lenses are usually sold separately from the instant cameras themselves but you can find them for a reasonable price.
Try using different types of film
Most instant cameras come in a set with several different film choices. Not only do you have color, but also the classic black and white film and of course sepia. Plus some films have fun and colorful frames you might enjoy. Or you can choose to decorate your frame on your own with markers, stickers, or washi tape. This brightens up your photo and lets you add your own style to it.
Buy your film in bulk
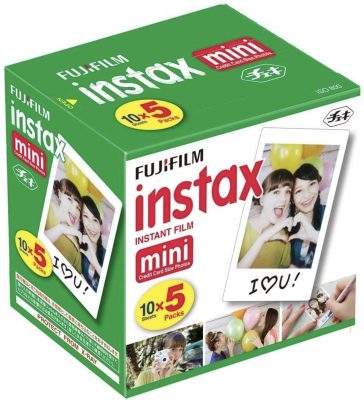
This is our number one tip, the insight we hope you remember if you only remember one thing from this article. Always buy film in bulk! Buying more than one pack of film makes your film cheaper so you get more for your money. You can get a prepackaged set for a better price. Plus, you can mix and match different types of films with your friends for an even better deal!
Add contrast with your pictures
It is important to note that an instant camera doesn’t do a great job of capturing contrast. Keep this in mind and make sure to add contrast to all of your pictures. If you’re not sure what we mean, think about it this way: shoot light subjects on dark backgrounds or dark subjects on light backgrounds.
What you don’t want is to have a lot of things the same color next to each other or blending together. Instant camera film has a more retro look, so don’t get discouraged if you don’t have the bright, colorful images you’re used to seeing on your iPhone.
Fill up most of the frame with your subject
Because the films are pretty small, fill up most of the frame with your subject, whether it’s a person or an object. This will help you see details a lot better and will minimize the distractions in the background. Do this by getting closer to the subject or using a close up lens. It might take a little practice, but your photos will be better if you remember to fill the frame with your subject.
Develop your photo in the dark
To get the most vivid colors, develop your photo in the dark. You can do this can be turning your image upside down, sticking it in a drawer, or leaving it in a dark room. But ten minutes should be sufficient for the image to develop completely. It is important to do this because if the sun hits the image while it’s still developing, it can mess with the colors and ruin an otherwise perfect photo.
Ignore the camera and follow your instincts (be creative)
Sometimes you might want to ignore what the camera is suggesting because you have your own personal style. Go with your instincts! Be creative and think outside the box. Some of the most memorable photos will come from ignoring the rules.
With that said, some of the settings on an instant camera are useful tools to help you achieve your artistic vision. For instance, if you want your photo to be brighter, choose “house” or “cloud.” If you want it to be darker, choose one of the sun settings.
This can be confusing when you’re first getting started, but remember that there are legitimate reasons for your camera’s suggestions. When your camera recommends using a sun setting, it is because it is registering that there is a lot of light already coming into the camera so it will block out some of the light.
Play around with the settings, but think about it and be strategic before you do to minimize wasting film. But a word to the wise: you’ll learn and grow as you make mistakes so don’t be afraid of failed shots. More on this later!
For pictures without flash, block the flash with tape, not your hand
At some point you may realize it is advantageous to to cover the flash because you know you have a lot of light as is. If this happens, don’t cover the flash with your hand. Rather, cover it completely with something such as tape. Otherwise your color will come out with a yellow tint because light has “leaked” through your hand.
Shoot both vertically and horizontally
Remember that you can shoot both vertical and horizontal shots. Whichever angle you decide is best, make sure that your flash is always on the top of your camera so that you aren’t accidently shooting upside down. This is especially important if you are shooting horizontally.
Take a “test” picture before you open the case
Always make sure that you take a “test” picture before you open the actual film case. This way you know for sure that you are out of film and ready to open the next case. But don’t just point and shoot anywhere. Prepare like you are going to take a real picture. If it’s empty, you’re okay. If it isn’t, you have another great photo to add to your collection!
Mistakes to Avoid with an Instant Camera
Of course you want to get the best possible photos with your camera. This is understandable but knowing what not to do can be just as important as knowing how to use your camera. Make sure you avoid the following common mistakes to ensure the highest quality pictures.
Don’t be afraid to waste film
You should know that this using instant cameras for photography is certainly a fun hobby, but also an expensive one. If you accept the costs you’ll end up with better pictures. Most film runs at about a dollar per sheet so it can add up, but don’t let that scare you from taking pictures. You have to learn how to use the camera, so just get out and start shooting whether it is a still shot or action photo. Take my word for it: the experience will be worthwhile!
Don’t open the back of the camera
It goes without saying that opening the back of an instant camera is a problem. But if you accidentally open up the back of your camera (or your little brother does), don’t worry. Simply close the door as soon as you can.
If you act quickly, you may still be able to recover some of your film. The first film will most likely be ruined, but if you are careful enough, the rest of your film should have stayed protected and should develop properly.
Don’t forget to adjust your settings before taking a picture
Your lighting can change quickly, especially if you go from outdoors to indoors. As was mentioned earlier, slow down when shooting with an instant camera. Take a deep breath and double check the settings before you snap a picture. Always check that your settings are right so you don’t get a badly exposed photo.
Watch out for those pesky black dots in your photos
You may have noticed that instant cameras don’t handle super bright light very well, such as direct sunshine or a reflection in a mirror. If you shoot these, the images will develop with a black spot. You’ll quickly learn that you don’t want to shoot directly into super bright light. Instead, turn to the side a bit to make sure the sun or bright light isn’t coming right into the lens. Angling it this way will make a major difference!
Make sure you are frontlit, not backlit
If your subject is backlit, which means that it is in front of the light source, you will have a black photo. If light is coming from behind them, you won’t be able to see anything but darkness. Take special care that all of the light is coming from the front of the subject. This can come from both the flash and regular, naturally occurring light.
Take each picture as a lesson to learn
Practice, practice, and practice some more. You will get better as you go along. Try to remind yourself that perseverance will pay off in the end. I’m sure that professional photographers didn’t start out taking award winning pictures. Be patient and be willing to try some new things with your photo taking. Most of all, enjoy the process and have fun!
Be intentional with what you want to capture
Working with instant cameras is one of the best ways to get better with your photography. Why? Simply because you don’t have the luxury of taking 100 photos and deleting 99 of them to get the best one. You have to be very intentional with what you want to capture. This requires some concentration and thought so it usually results in special, memorable pictures.
Develop your own photography style
The best way to get photos you love is to develop your own photography style. Don’t worry about what other people do. Instead, play around and choose what works best for you. The more pictures you take the quicker you will learn if you prefer to shoot only black and whites, portraits, or landscape photography. Try something new every day until you find your sweet spot. This will make a world of difference!
Take pictures of your subjects close to background
Ask yourself, “Is my background dark and black?” Try to avoid that circumstance because if your subject is set apart from the background, they will be getting all of the light and your background will be black. It may be worthwhile to try taking a photo up against a wall or closer to your background in order to get the whole photo to light up.
Share your photos with others
Finally, make sure to share your photos with someone else, whether it’s your grandpa or your best friend or your teacher. They will enjoy seeing your developing talents and you will feel good to share something important to you with someone you love. Sharing your photos is one of the funnest parts of using an instant camera because you are sure to get positive feedback and encouragement!
Final Thoughts
Using an instant camera can be so fun. It lets you capture exciting moments you are experiencing with your friends and family. By using the tips and tricks listed above, you can improve the quality of your photos and feel happy with the way the turn out. You will consequently have even more fun pictures and displaying them.
FAQs
What makes an instant camera good for kids?
Instant cameras are good for kids because pictures print out immediately. This feature appeals to kids because they don’t have to wait for their parents to help them print out their pictures. Many kids find it satisfying to instantly have access to their pictures so they can share them or display them right away. Plus, instant cameras typically have a fun look and are becoming quite popular among young people.
How is an instant camera different from a digital camera?
One important difference to note is that while you can literally take hundreds of pictures with a digital camera and then pick your favorite, with an instant camera you only get one shot. In other words, there are no retakes since the picture prints out straight away. This means that film is significantly more expensive with an instant camera.
What are fun features of an instant camera?
Arguably the most fun feature of an instant camera is the fact that it prints out your picture right away. Kids love watching the film develop. Many instant cameras also come equipped with interesting lenses which let you zoom in, apply a filter, or change the color. You can also acquire cute films so your photos will print in black and white or with colorful frames.
