So you’ve just gotten your brand new instant camera. You are ready to start exploring photography and get great pictures of your friends and favorite things. But before you start running through your film, you’ll want to make sure that you know a few camera basics so that you can get the most out of your instant camera.
Get to Know Your Instant Camera
One of the best things about instant cameras is they are almost ready to use right out of the box, so setup isn’t complicated. An important thing to remember is that film is not included, so make sure to buy film with your camera.
Most instant cameras run on batteries, so pop in a few AAs and you should be ready for film. Cameras can eat up your batteries, so if it’s possible, use rechargeable batteries.
Before turning on your camera and taking pictures, make sure that you know a little bit about your camera. It may seem boring, but spend 10 minutes and read your camera manual. Each instant camera is different, and reading your manual will help you get used to what different tools your camera has to offer.
Here’s a rundown of some of the key parts your camera should have:
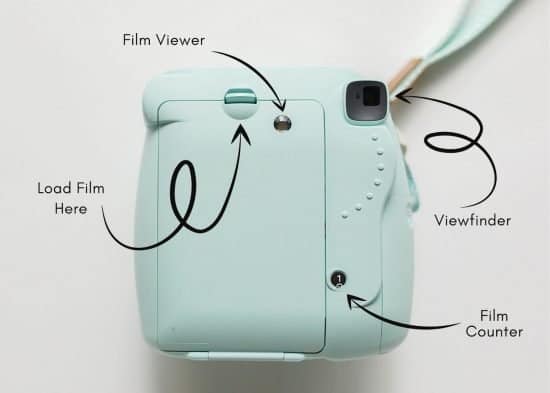
Viewfinder
The viewfind is a small window where you look through to take your picture. Watch out, because the viewfind isn’t always the exact same as the photo that is coming out. Some viewfinders can be a little bigger than your film, so make sure that you give your photo a little bit of extra space so that you don’t cut off anything that is important in your image.
The viewfinder may have a small circle or “+” in the center of it. This shows you where the center of your frame is so that you know how to center your photo.
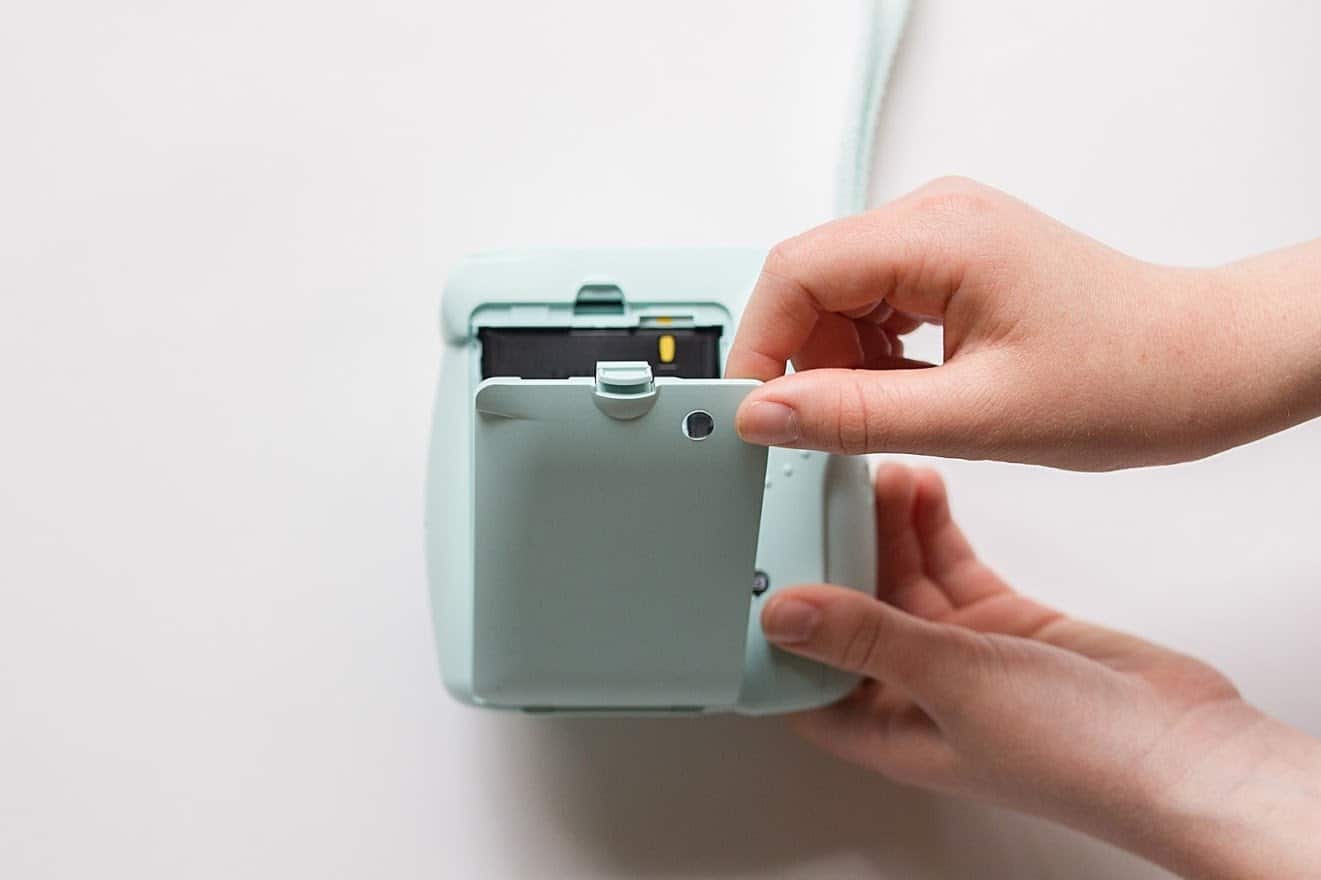
Film Insert
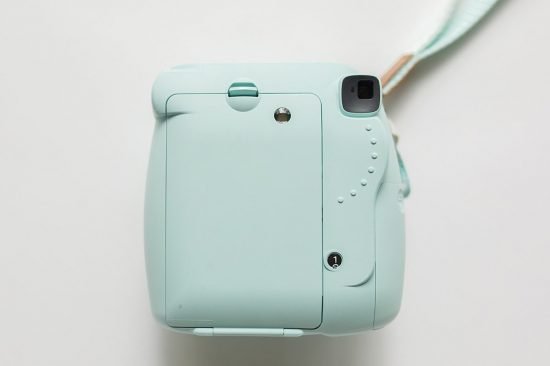
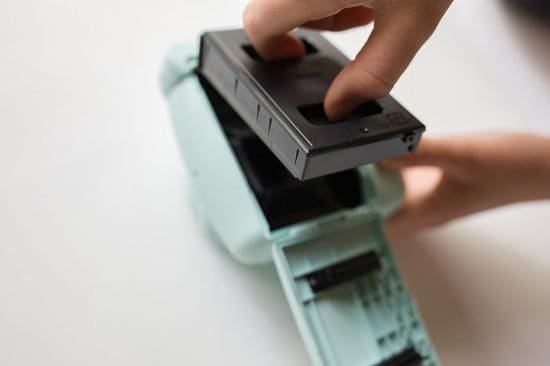
The film insert is found on the back of the camera, and this is where you put your film cartridge. This is one of the most important parts of an instant camera, so we will go into more detail on this later.
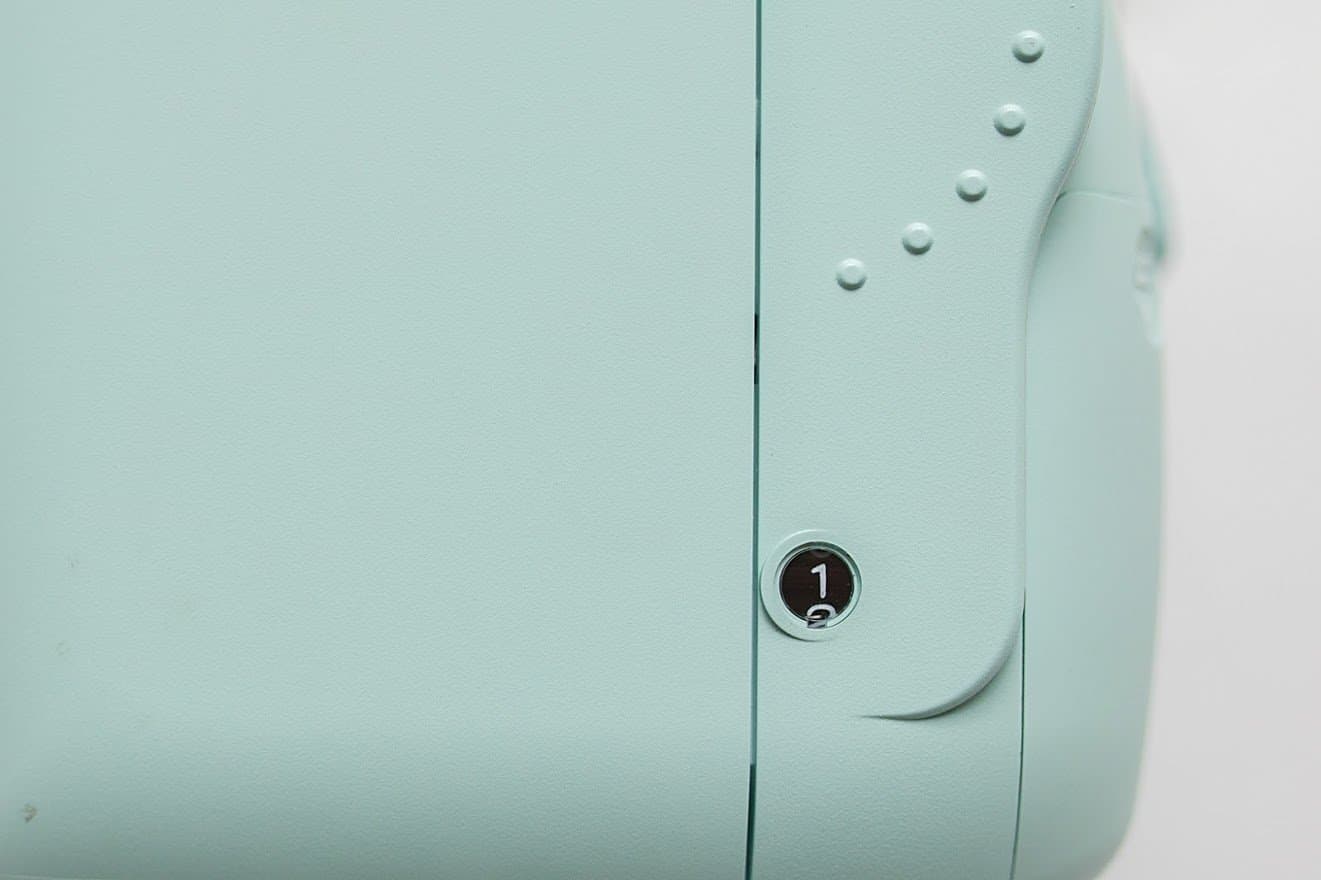
Film Counter
This is a small window or counter located near the film insert that shows you how many films you have left. It’s important to use all of your films up before opening the back, so keep a close eye on the counter. Every time you take a picture, the counter should go down by one number, so you will know when to refill your cartridge.
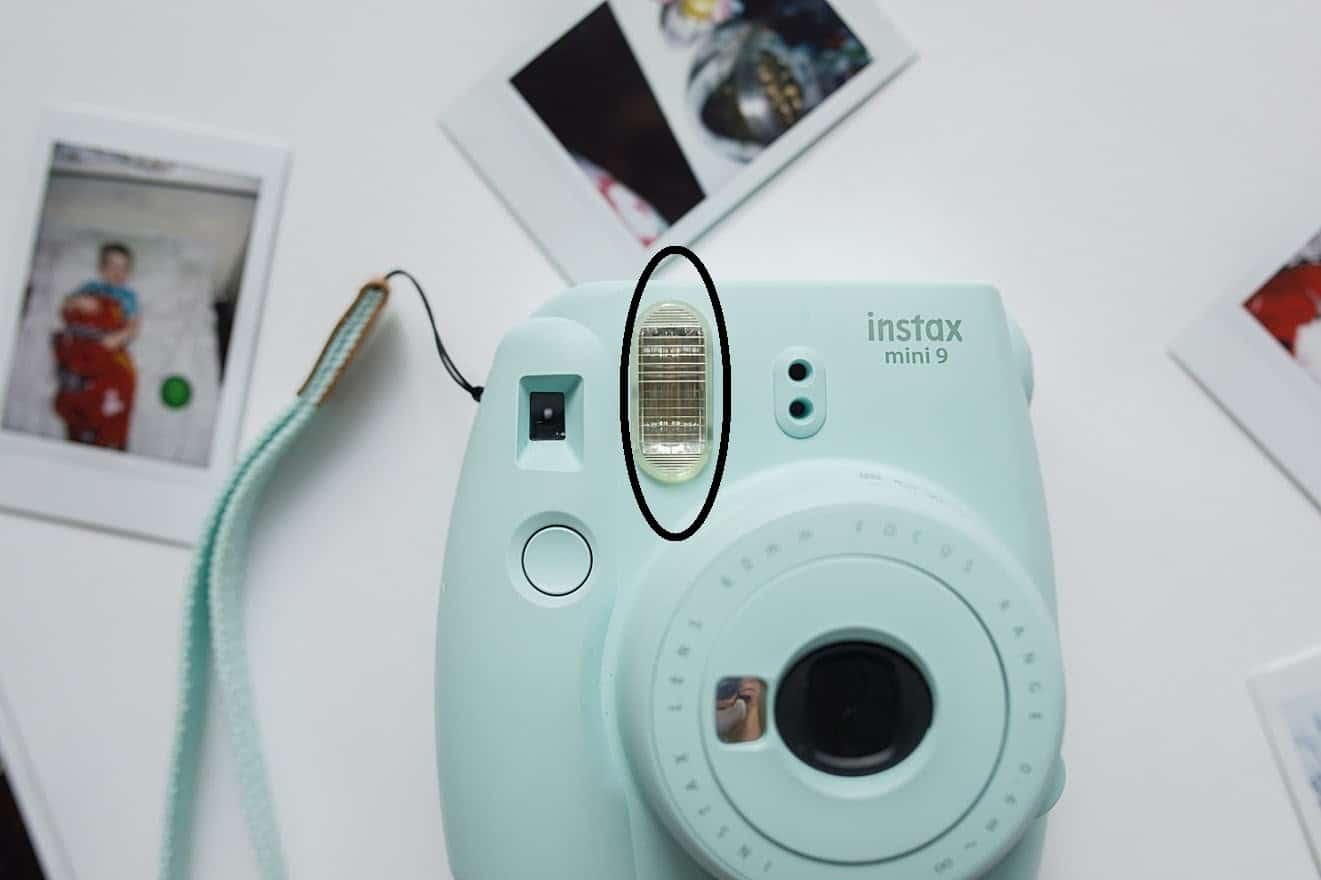
Flash
The flash is a light that goes off when you click to take a picture. Some cameras allow you to turn the flash on and off, but the most popular instant cameras keep it simple and make the flash go off each time.
Film Dispenser
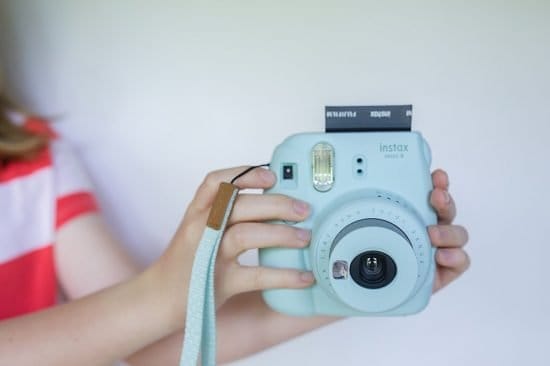
This is where the film will dispense out of the camera. This can be on the top, side, or bottom of your camera. Make sure you know where it is so that you don’t block or jam up this part. You want to make sure it stays nice and clean.
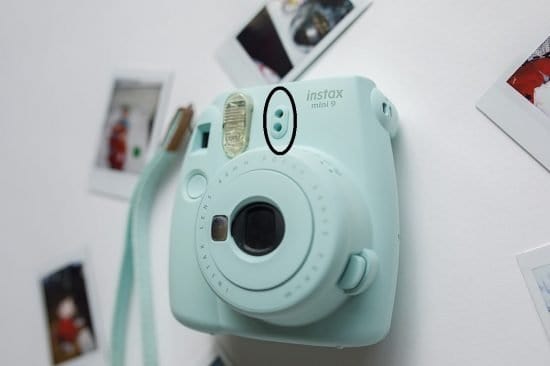
Light Sensors
This is one of the most important parts of your camera. The light sensors are one or two small circles at the front of your camera. The light sensors are the camera’s “brain”. They read how much light is coming into the camera and can adjust the setting on the camera to make sure that the photo comes out just right. Never block these when using your camera or you are bound to come out with a photo that is completely black or completely white.
How to Work with Instant Camera Film
What sets an instant camera apart from your phone or click and shoot is that it uses film. So you have to be very careful with the film.
Film is delicate and can get ruined easily, so don’t leave it in a hot car or have it get super cold or wet. Try to keep it at room temperature for best results.
Make sure your camera is turned off and be gentle when you are opening up your package and careful when inserting the film cartridge.
There are spots where you shouldn’t touch, so keep an eye out for that. Watch for the “don’t touch” symbols on the cartridge. Hold the cartridges on the edges. If you squish or touch parts of it, it will mess with the chemicals and ruin your film.
After loading your cartridge and turning on your camera, your first shot will release the “dark slide”. This is a black slide that protects your film from exposure to the light. No picture will be captured on this and it lets you know that your camera film is loaded and ready for you to start taking pictures. Some models will automatically eject the dark slide out, but most do not.
Once you’ve taken a picture, it will come out of your camera and start to develop. Remove the photo without touching the image. It takes about 90 seconds for it to develop.
Do not shake the photo when it is developing. Don’t touch or bend the film. Treat it gently or you’ll get weird shadows, colors, or fingerprints.
After development, the film is still very fragile and will scratch easily, so take care of your pictures. Think of getting a nice album or box to keep them safe. A pile of photos will scratch up the images.
Dial Settings for the Perfect Image
If your instant camera only includes an on/off switch and flash, like the Polaroid OneStep, you are all set to start taking pictures.
But if you are using a camera with different setting options, like those found on the Fujifilm Instax line, you need to know how these settings work to get the best instant picture.
Remember those light sensors? This is where this becomes really important. Film develops based on the light that it is exposed to, and your settings can tell the camera how much light to let in or keep out.
Your instant camera is very smart and will try to determine the amount of light coming into the camera. In the Instax models, there is a red light on the dial of your camera. You will need to twist the dial until the dot on your lens lines up with the red light. That will help your camera be at the best exposure.
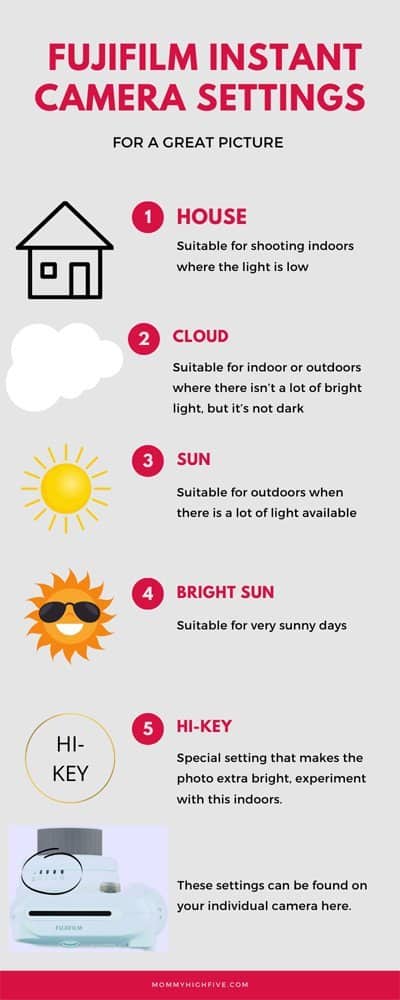
Light Settings for the Fujifilm Instax
Here are some of the settings for Fujifilm’s Instax camera line. These are some of the most popular instant cameras on the market.
House: Suitable for shooting indoors where the light is low.
Cloud: Suitable for indoor or outdoors where there isn’t a lot of bright light, but it’s not dark.
Sun: Suitable for outdoors when there is a lot of light available.
Big Sun: Suitable for very sunny days.
Hi Key: Special setting that makes the photo extra bright. Brighter than the photo thinks it should be. Don’t use this setting outdoors because it will make things way too bright. Experiment more with this indoors.
Final Thoughts
Understanding how your camera works is the best way to get fast results, so don’t skip this step. Once you have a good understanding of your camera, you are ready to get started. Knowing the features of your camera will allow it to have a long life and will provide you with great images for years! Now get out there, be creative, and start clicking. If you still need to buy an instant camera check out our review on that.
About Our Author
Brittany Bennion is a family and branding photographer based out of Ann Arbor, MI. As an expert in the field of portrait photography, she is sought out across the country. With 10+ years of experience, Brittany creates stunning images for your family and business. Brittany’s superpower is to help anyone feel comfortable in their own skin in front of the camera. When Brittany isn’t behind the lens, she spends time exploring, hiking, and biking with her husband and 5 little ones.

