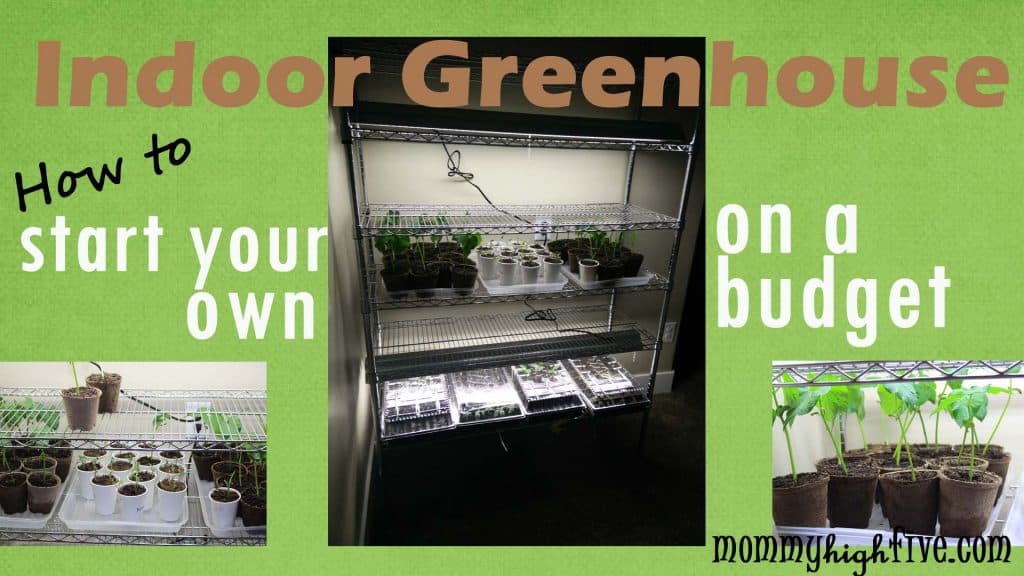
In Utah, we tend to have long winter and we can have cloudy cold spring, so there was a need to do some research and come up with a way to grow our starts inside in a greenhouse. This has been a really fun project that the whole family has really enjoyed. The kids love to run down each day and see how everything is growing. I love that it was and still is simple, affordable, and fun for the whole family. And I love that in not too long we will be enjoying a wide array of yummy healthy vegetables that my kids will most likely not eat and I will be sneaking into every recipe I can!
This is a companion article, so you may want to read more about the best hydroponic garden kits we use for growing herbs all year long in addition to this article.
Here is what you will need to start your own indoor greenhouse:
- a shelving unit
- shop lights
- fluorescent bulbs
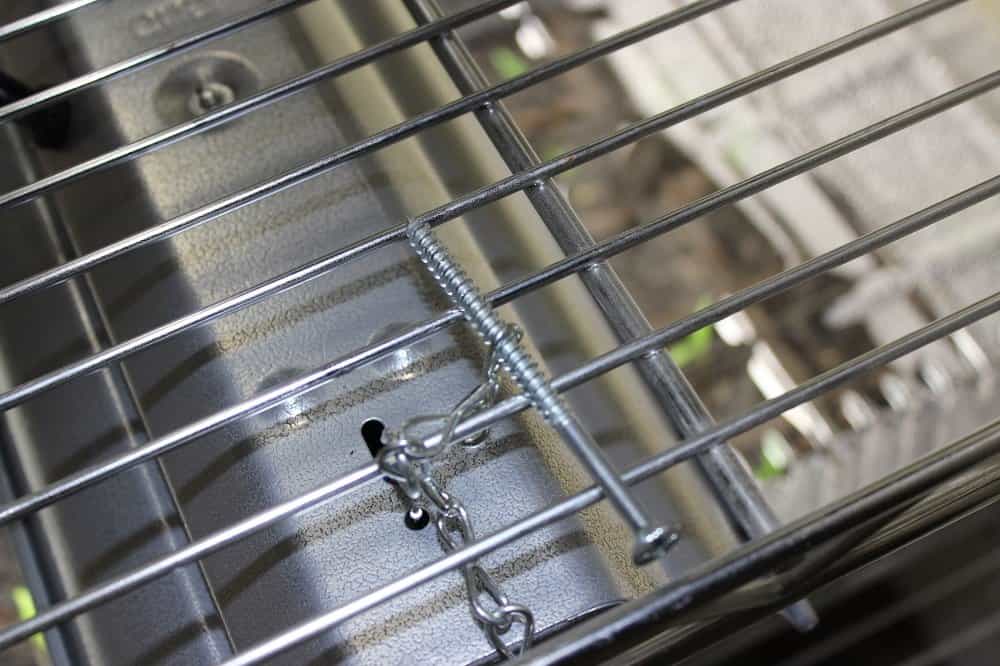
- 3-inch screws (if you use the same type of shelving unit I do)
- seed starting greenhouse kit
- garden soil
- seeds
- patience
Shelving Unit
Lucky for us, we already happened to have a shelving unit that was taking up space in the garage that worked perfectly for this project! You can use anything from an old bookshelf to a store-bought shelf. I am a fan of using what you already have lying around. But if you are interested in buying a shelving unit I recommend this Whitmor one.
It’s very similar to ours and what I like about it is that you can adjust the shelves as your plants grow. It is very sturdy and your shop lights can hook right into it. If you use a bookshelf you will need to figure out how to attach a lighting system by screwing it in and attaching it. This shelving system takes 20-30 minutes to put together and another 5-10 minutes to put your growing lights on. It’s super simple and can be used again for something else when you are done with your greenhouse.
Shop Lights
We went with T8 shop lights and we bought two. I researched out many different articles on what type of lighting to use when growing indoors. I found LED lighting to be the best. It can also be more expensive.
Fluorescent lighting is the next best option. There are T12, T8, and T5 bulbs. The lower the number the skinnier the tube, the more efficient the bulb, and the more expensive it is. We decided to go with the T8 because it was within our budget and would get the job done. It is working fabulously. You can purchase these fluorescent lights Home Depot for around $18 ea. Be aware that this is just for the light fixture and does not include any bulbs.
Fluorescent Bulbs
Be sure to buy the right size of bulbs that go with the size of shop light you chose. If you bought a two ft fixture make sure your lights are two ft. If you bought a four ft light make sure you lights are four ft. If you decided to go with the T8 fixture make sure your lights are T8.
I know, seems stupid that I would have to tell you this, but you would be surprised how many times I have had to return to the store for silly mistakes like this, and I would not want you to have to do the same. So triple check yourself! I would recommend getting your bulbs from your local hardware store. That is where you will get the most bang for your buck.
Now if you are like me, you will stand there for about an hour looking at all the different lights with a dumbfounded look on your face thinking, huh?? There are so many to choose from!! I went to Home Depot so many times that the lighting guy and I became besties. So here is what I would recommend. If you end up buying two shop lights then you will need two packs of bulbs. Buy a Daylight pack and a Natural pack.
When you install them in your fixtures put one of each bulb in your fixture. These are both cool white lights which are best for seedlings and starts.
3-inch Screws

Seed Starting Greenhouse Kit, Garden Soil, Seeds
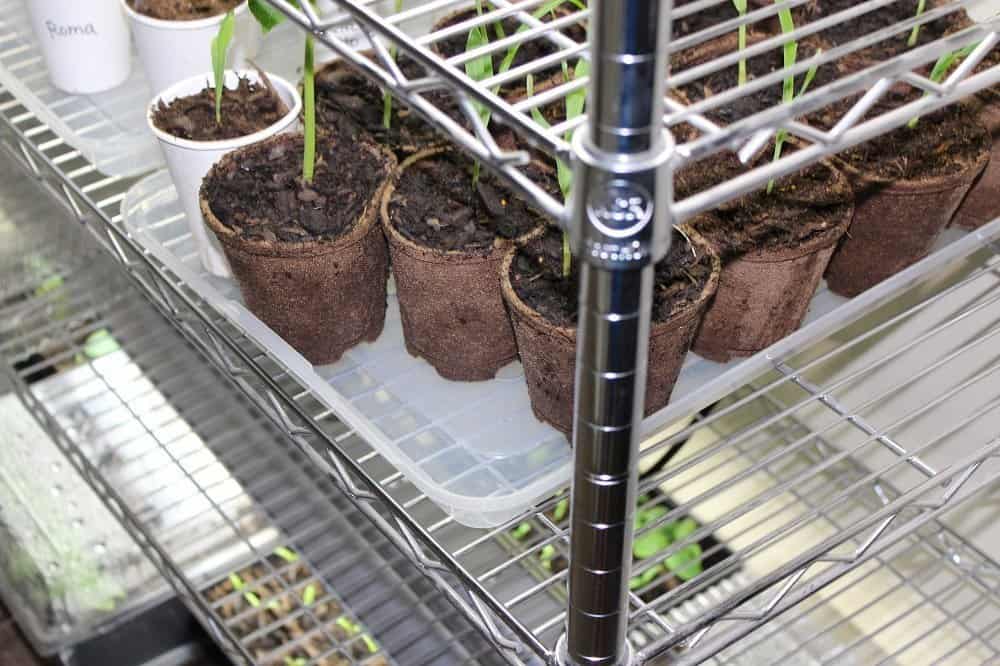
Head on down to your local hardware store and pick up a greenhouse seed starting kit of your choice. I like the Jiffy brand. It has never failed me. It will cost you about $5- $6 for a kit that holds 50 starts. If you plan on growing veggies that germinate pretty fast and grow tall like corn or bush beans or even various types of squash you may want to skip these little growing pods and skip straight to the larger transplant peat pots.
We didn’t realize how fast and tall some veggies grew and it is too early to put them outside and so we had to re-plant them in the bigger pots. Had we have known we would have just done this from the get-go.
Pick up some garden soil. Don’t just buy any ole dirt. Go for the good stuff. Miracle Grow is always a good brand. Make sure it is good for vegetables to grow in. The dirt you buy can make a huge difference in the quality of growth and veggie you get.
Next, pick out your seeds. This is the fun part. We always like to try something new. This year we are trying banana peppers and Beef Steak tomatoes. Make sure you have done research and you know what grows well in your area and your type of soil. Make sure you don’t go crazy. Map out your space. If you have a tiny garden space don’t buy a bazillion seeds. Each plant takes up a lot of space once they are fully grown and start producing.
Assembling Your New Indoor Greenhouse

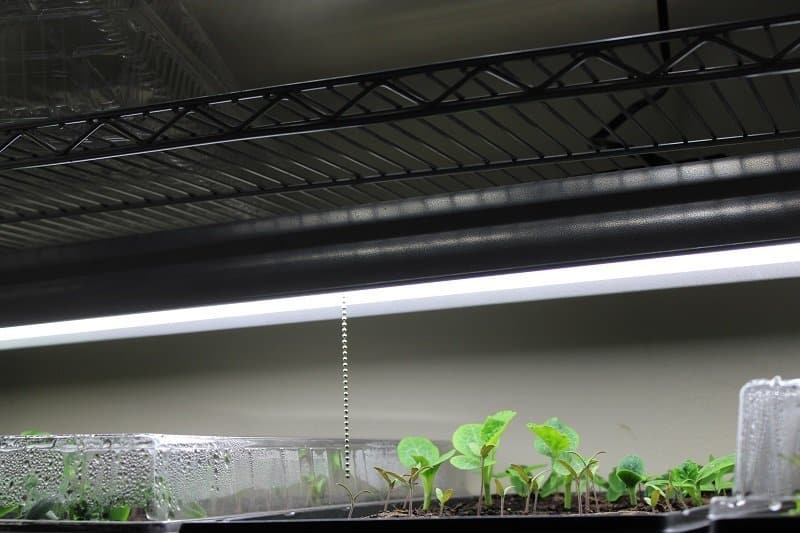
You want to have the light about 2 inches from the top of your plants at all times. So be sure to adjust as your plants start to grow. Fill your starter kit with dirt. Let the little ones help. We did this as a family activity. It took all I had in me to not stress about the mess that was being created. But the kids LOVED being a part of it. And a mess can be cleaned up, right? No need to stress. If it’s warm you can do this step outside!! Put the seeds in the dirt. Be sure to label which seeds are where. We put masking tape on the kit and labeled it so that we know exactly what is growing and where. Be sure to water really well. There are instructions on your starter kit on how to water. Set under the lights and voila. Let the magic begin. Within a week, our green beans were about three inches high!! I hope this was helpful in getting you started on your own indoor greenhouse!


