I can’t think of anyone who doesn’t love Thanksgiving! A reason to be with people you love and eat delicious food is never a bad idea. But my favorite part of Thanksgiving is the reminder to step back and notice the wonderful blessings I have instead of worrying about what I need or want or think I deserve. Making Thanksgiving meaningful and memorable for my children is important to me and I think fun Thanksgiving crafts is just the ticket!
Most Thanksgiving gatherings I have been to have a few minutes of downtime when a simple activity for the kids would be the perfect distraction as we wait for the last family members to arrive or for the pies to finish baking. With just a little prep, these ideas are simple enough for kids to make and enjoy without too much mess or hassle.
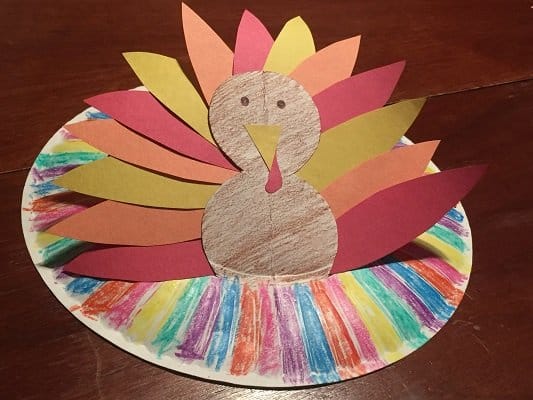
Turkey Hat Thanksgiving Craft for Kids
It doesn’t get much easier than this–or much cuter! These hats will end up adorably customized and the pictures will be priceless! I love the kind of craft that kids wear because they get to DO something with it instead of just admire it.
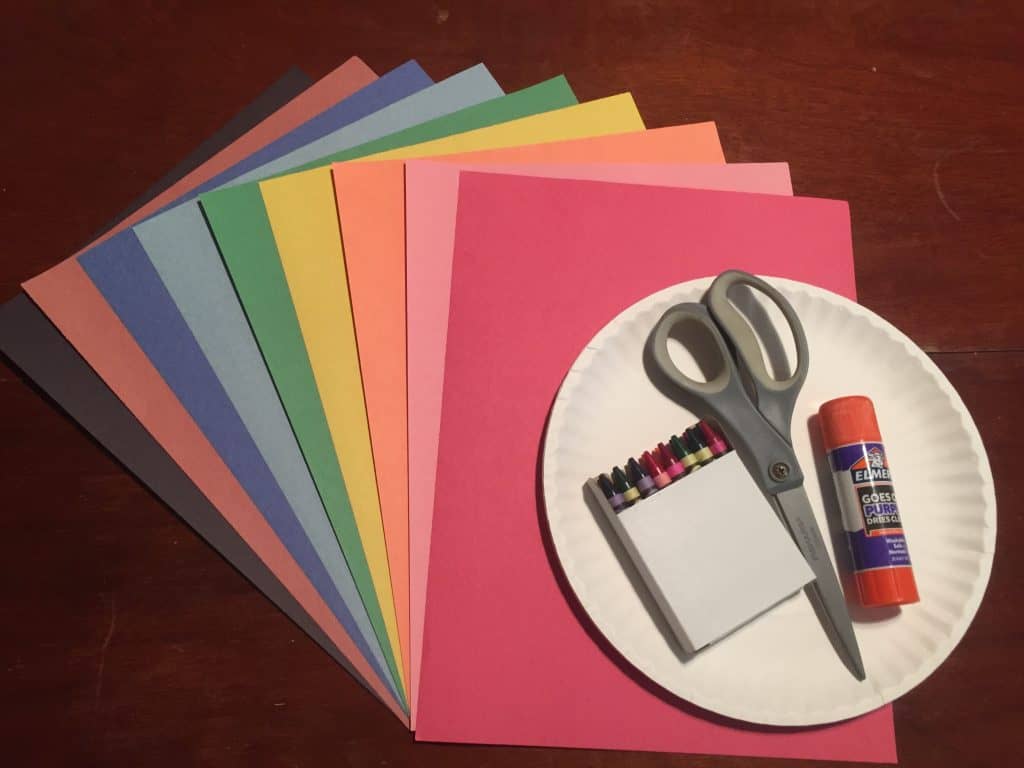
Supplies:
- Paper plate (1 per child)
- Crayons (especially brown for the turkeys’ bodies)
- Colored construction paper
- Printed turkey hat template
- *Optional* plastic craft eyes (2 per child)
- Bottle of glue (if you are using plastic eyes)
- Glue sticks
Prep Work (I recommend an adult do this part ahead of time unless the kids have the fine motor skills to do all of this without trouble.):
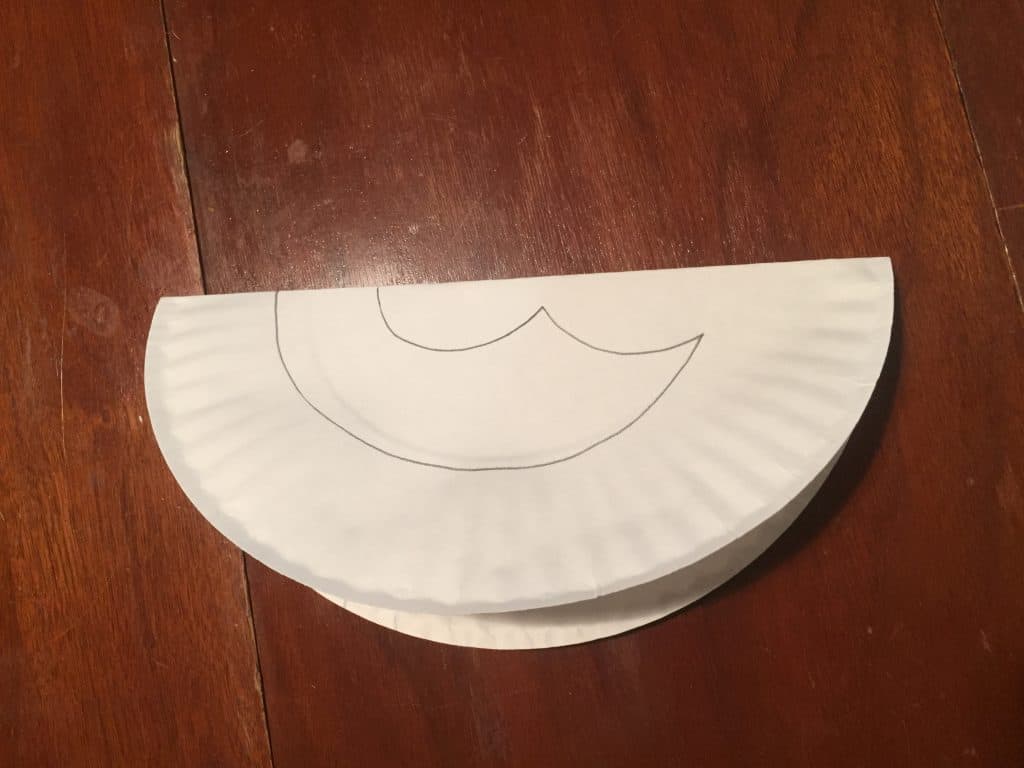
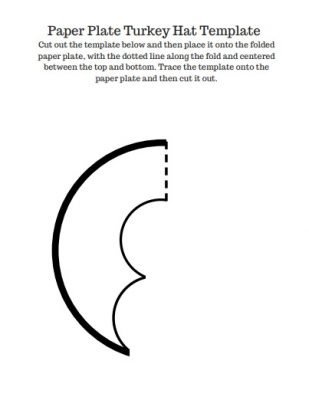
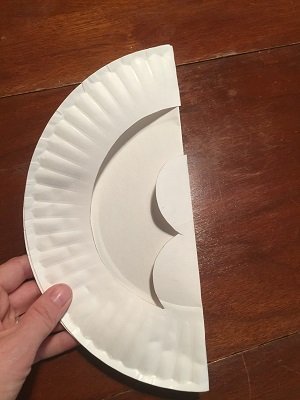
Step 1: Cut out this template and then trace it onto a paper plate folded in half. Cut along the lines and then unfold the plate.
Tip: If you doing more than one of these, finish cutting out the first one and then fold it over on top of the next paper plate folded in half so the straight sides are together. This way you can trace it more easily.
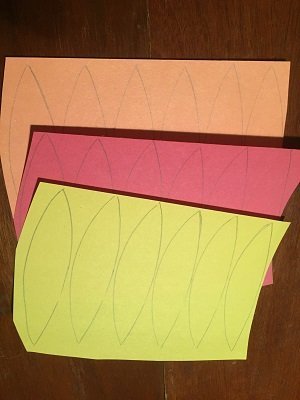
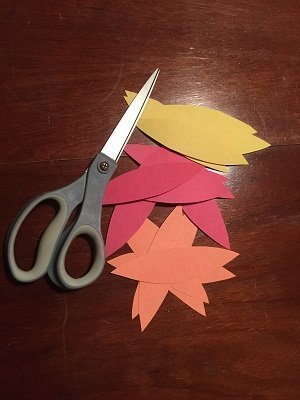
Step 2: Draw a simple feather onto the construction paper and then cut it out to use as a template to make more in a variety of colors. Some kids will want more feathers than others so just decide how many feathers you want available to them.
Step 3: Cut turkey beaks (yellow triangles) on the yellow construction paper. Cut turkey wattles (that iconic red flap under a turkey’s chin) out from the red construction paper.
Now for the kids’ part! To put it all together:
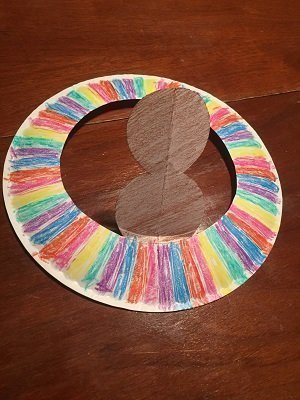
Step 1: Color the paper plate the way you want it and fold the turkey’s body so it sticks up. My 6-year-old colored this one for me.
Step 2: Glue the feathers onto the back of the turkey. (Glue stick is best for this part.)
Step 3: Glue the beak and wattle in place.
Step 4: Glue the eyes in place (use liquid glue this time) and then let them dry. Or draw them on.
Step 5: Put it on and smile for a picture!
Since head sizes vary, you may need to cut the hole a little bit bigger but that should be easy and quick.
They’ll be the cutest little turkeys at the party!
Autumn Tree
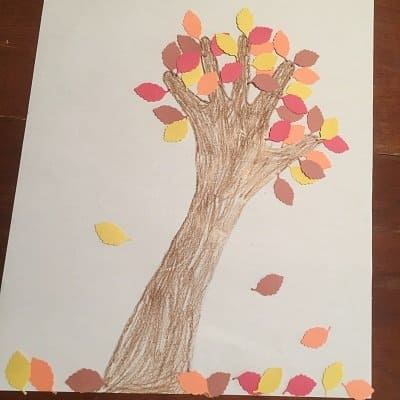
The rich colors of autumn and their gradual change over the fall months can be truly breathtaking. This craft celebrates the spectacular beauty of autumn! Plus it will keep little fingers busy for awhile if that’s your goal. It’s also a way to springboard a conversation about how seasons change and about gratitude for the beauty of the earth.
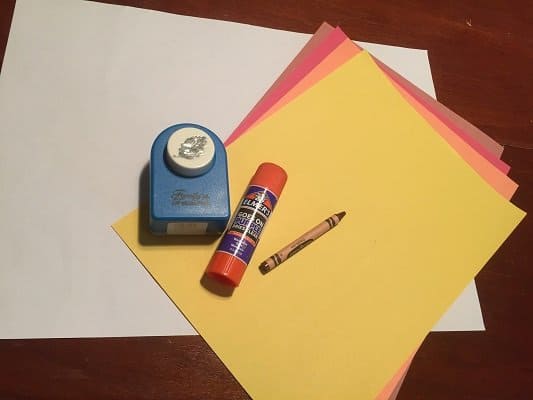
Supplies:
- Solid colored paper (8.5×11” or 12×18”)
- Brown crayon
- Red, orange, and yellow construction paper
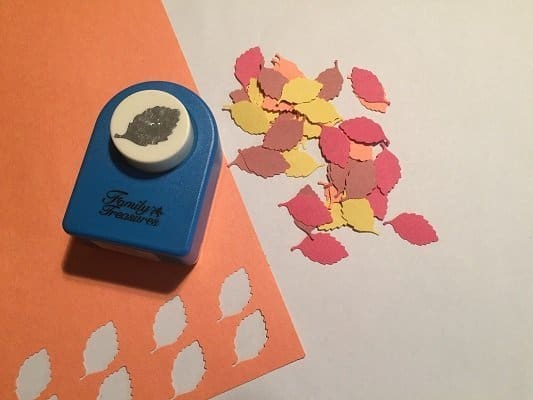
- Leaf craft punch (almost any type of leaf shape will work!)
- Glue stick
Note: Using 12×18” paper means more room for leaves and a longer trunk.
Instructions:
Prep Work: Not much needed! You can punch out the leaves if you want but some kids would LOVE doing that themselves!
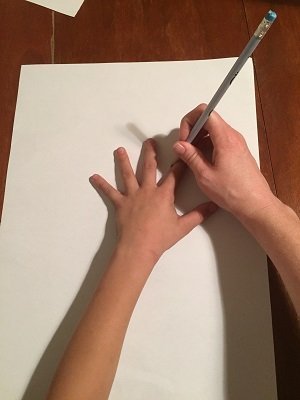
Step 1: Trace your child’s hand onto the paper. Choose carefully where you trace it so there’s room for leaves!
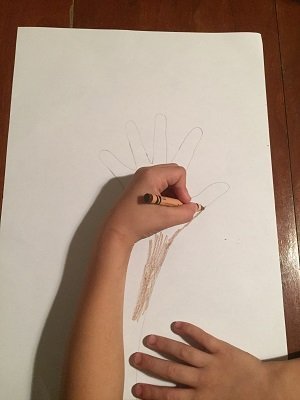
Step 2: Color the trunk (traced arm and hand) of the tree brown. Optional: Color in the background too (grass, hills, sky, clouds).
Step 3: Punch out leaves. You’ll want plenty!
Step 4: Glue the leaves on the branches, mid-air, or on the ground.
See how easy that was?
3D Gratitude Pumpkin
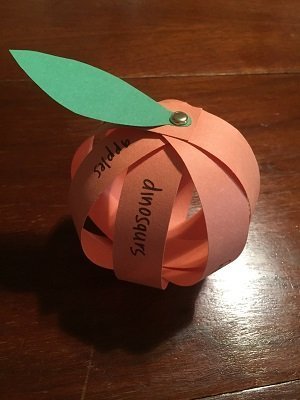
I love this craft because it’s more than just fun. It’s character- and resilience-promoting for children to learn to recognize the good things in their lives and just feel thankful for them. Encouraging gratitude in children is something that will serve them their whole lives. Kids love the 3D aspect of this craft too so it’s a win-win!
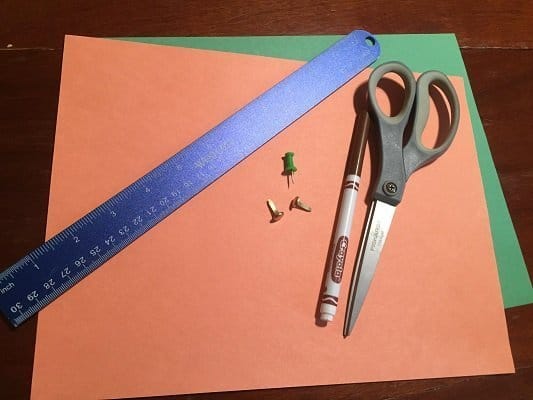
Supplies:
- Green and orange construction paper
- Ruler
- Scissors
- Marker or pen
- Paper fasteners (you need 2 per pumpkin)
- Thumbtack
Instructions:
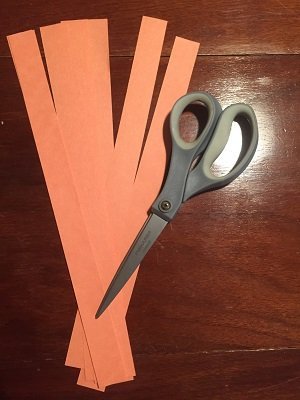
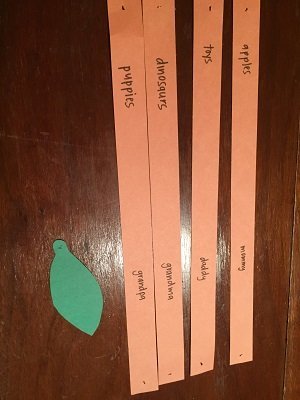
Step 1: Use the ruler to measure strips that are ⅞” wide and cut the long way across the construction paper. You will need 4 strips for each pumpkin. If you choose to make the strips thinner, you can. Just know that you will need more of them to get around your pumpkin. My strips were 12” long. Shorter ones will mean that your pumpkin is smaller.
Step 2: Cut a leaf out of the green paper and, with the thumbtack, poke a hole in the part you want attached to the top of the pumpkin. Poking a hole with the thumbtack makes it a lot easier to put the paper fastener through later since it isn’t as sharp as a thumbtack.
Step 3: Ask your child what he or she is thankful for and write them on the orange strips. Make sure you write two on each strip and toward the ends of the paper. If you write too close to the middle or the ends, the words will be too hard to see once the pumpkin is assembled.
Step 4: With the thumbtack, poke holes into the ends of the orange strips about ¼” from the ends.
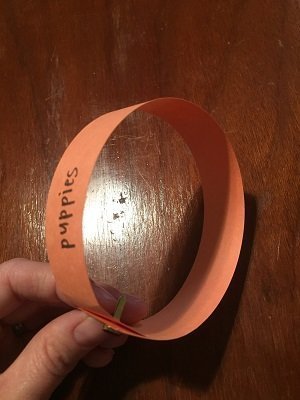
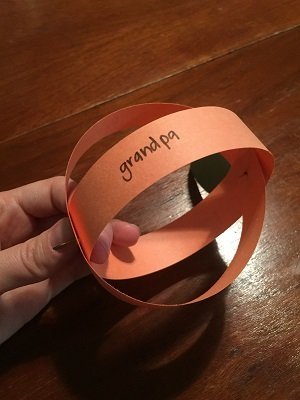
Step 5: I recommend an adult do this part. Put the paper fastener through the hole in the leaf. Then put one end of the first strip through the fastener and then loop it around so the hold on the other end can go on the fastener too, making sure the side with words will be on the outside.
The round head of the fastener goes on top of (or outside of) the pumpkin. Do the same thing with the second strip, bringing the paper outside of the loop made with the first strip.
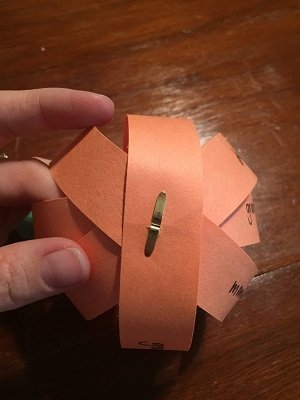
Step 6: At the bottom of your pumpkin, line up the middle of the paper strips and poke a hole through them with the thumbtack. Then put the brass fastener through with the head of the fastener on the INSIDE of the pumpkin.
Step 7: Continue the process with the third and fourth strips, spacing them out and remembering to keep the words on the outside. Once the fourth strip is on, you can separate the ends of the fasteners and push them flat so the strips are secured together at the top and bottom of the pumpkin.
And you’re done! It’s a little delicate (don’t leave it where it can get smashed), but round like a pumpkin. Hopefully seeing it will remind your children of the things in their lives that make them happy and grateful!

